How I Fixed My Broken Dual-Boot Setup (Ubuntu + Windows) Without Losing My Mind
A few weeks ago, I set up a shiny new dual-boot system: Windows 11 on my original 500 GB SSD, and Ubuntu on a brand-new 1 TB SSD. Everything went smoothly at first, I could happily switch between Windows for gaming and Ubuntu for development.
But then it happened.
I restarted my laptop one evening and instead of the familiar GRUB menu, I was greeted with a black screen and a blinking prompt:
grub>
My heart sank. No Ubuntu. No Windows. Just GRUB staring back at me.
The Problem
What I eventually figured out was this:
GRUB was still installed, but it couldn’t find its configuration.
My new SSD’s partition table was corrupted, so the Ubuntu partitions weren’t even showing up.
The BIOS kept trying to boot “ubuntu,” but GRUB had nothing to work with.
Basically, I was locked out of both operating systems.
The Tools
All I had at that moment:
- A USB stick with the Ubuntu installer.
- My phone (to frantically Google things).
- A lot of patience.
The Fix (Step by Step)
Here’s exactly what I did to bring the system back to life.
-
Booted Into a Live Ubuntu Session
From the USB, I chose “Try Ubuntu” so I could work in a live environment. This gave me a desktop and a terminal to work with.
-
Checked the Partitions
I ran:
sudo fdisk -l /dev/nvme0n1
Sure enough, the output showed a corrupt GPT warning, but thankfully the backup GPT was intact. My partitions were there:
/dev/nvme0n1p1→ Ubuntu root (~476 GB, ext4)/dev/nvme0n1p2→ EFI partition (~1 GB, FAT32)/dev/nvme0n1p3→ Shared NTFS (~453 GB)
- Repaired the GPT
Using gdisk, I restored the primary GPT from the backup:
sudo gdisk /dev/nvme0n1
Inside gdisk:
r   # recovery menu
d   # use backup GPT
w   # write changes
That was enough to make the partitions visible again.
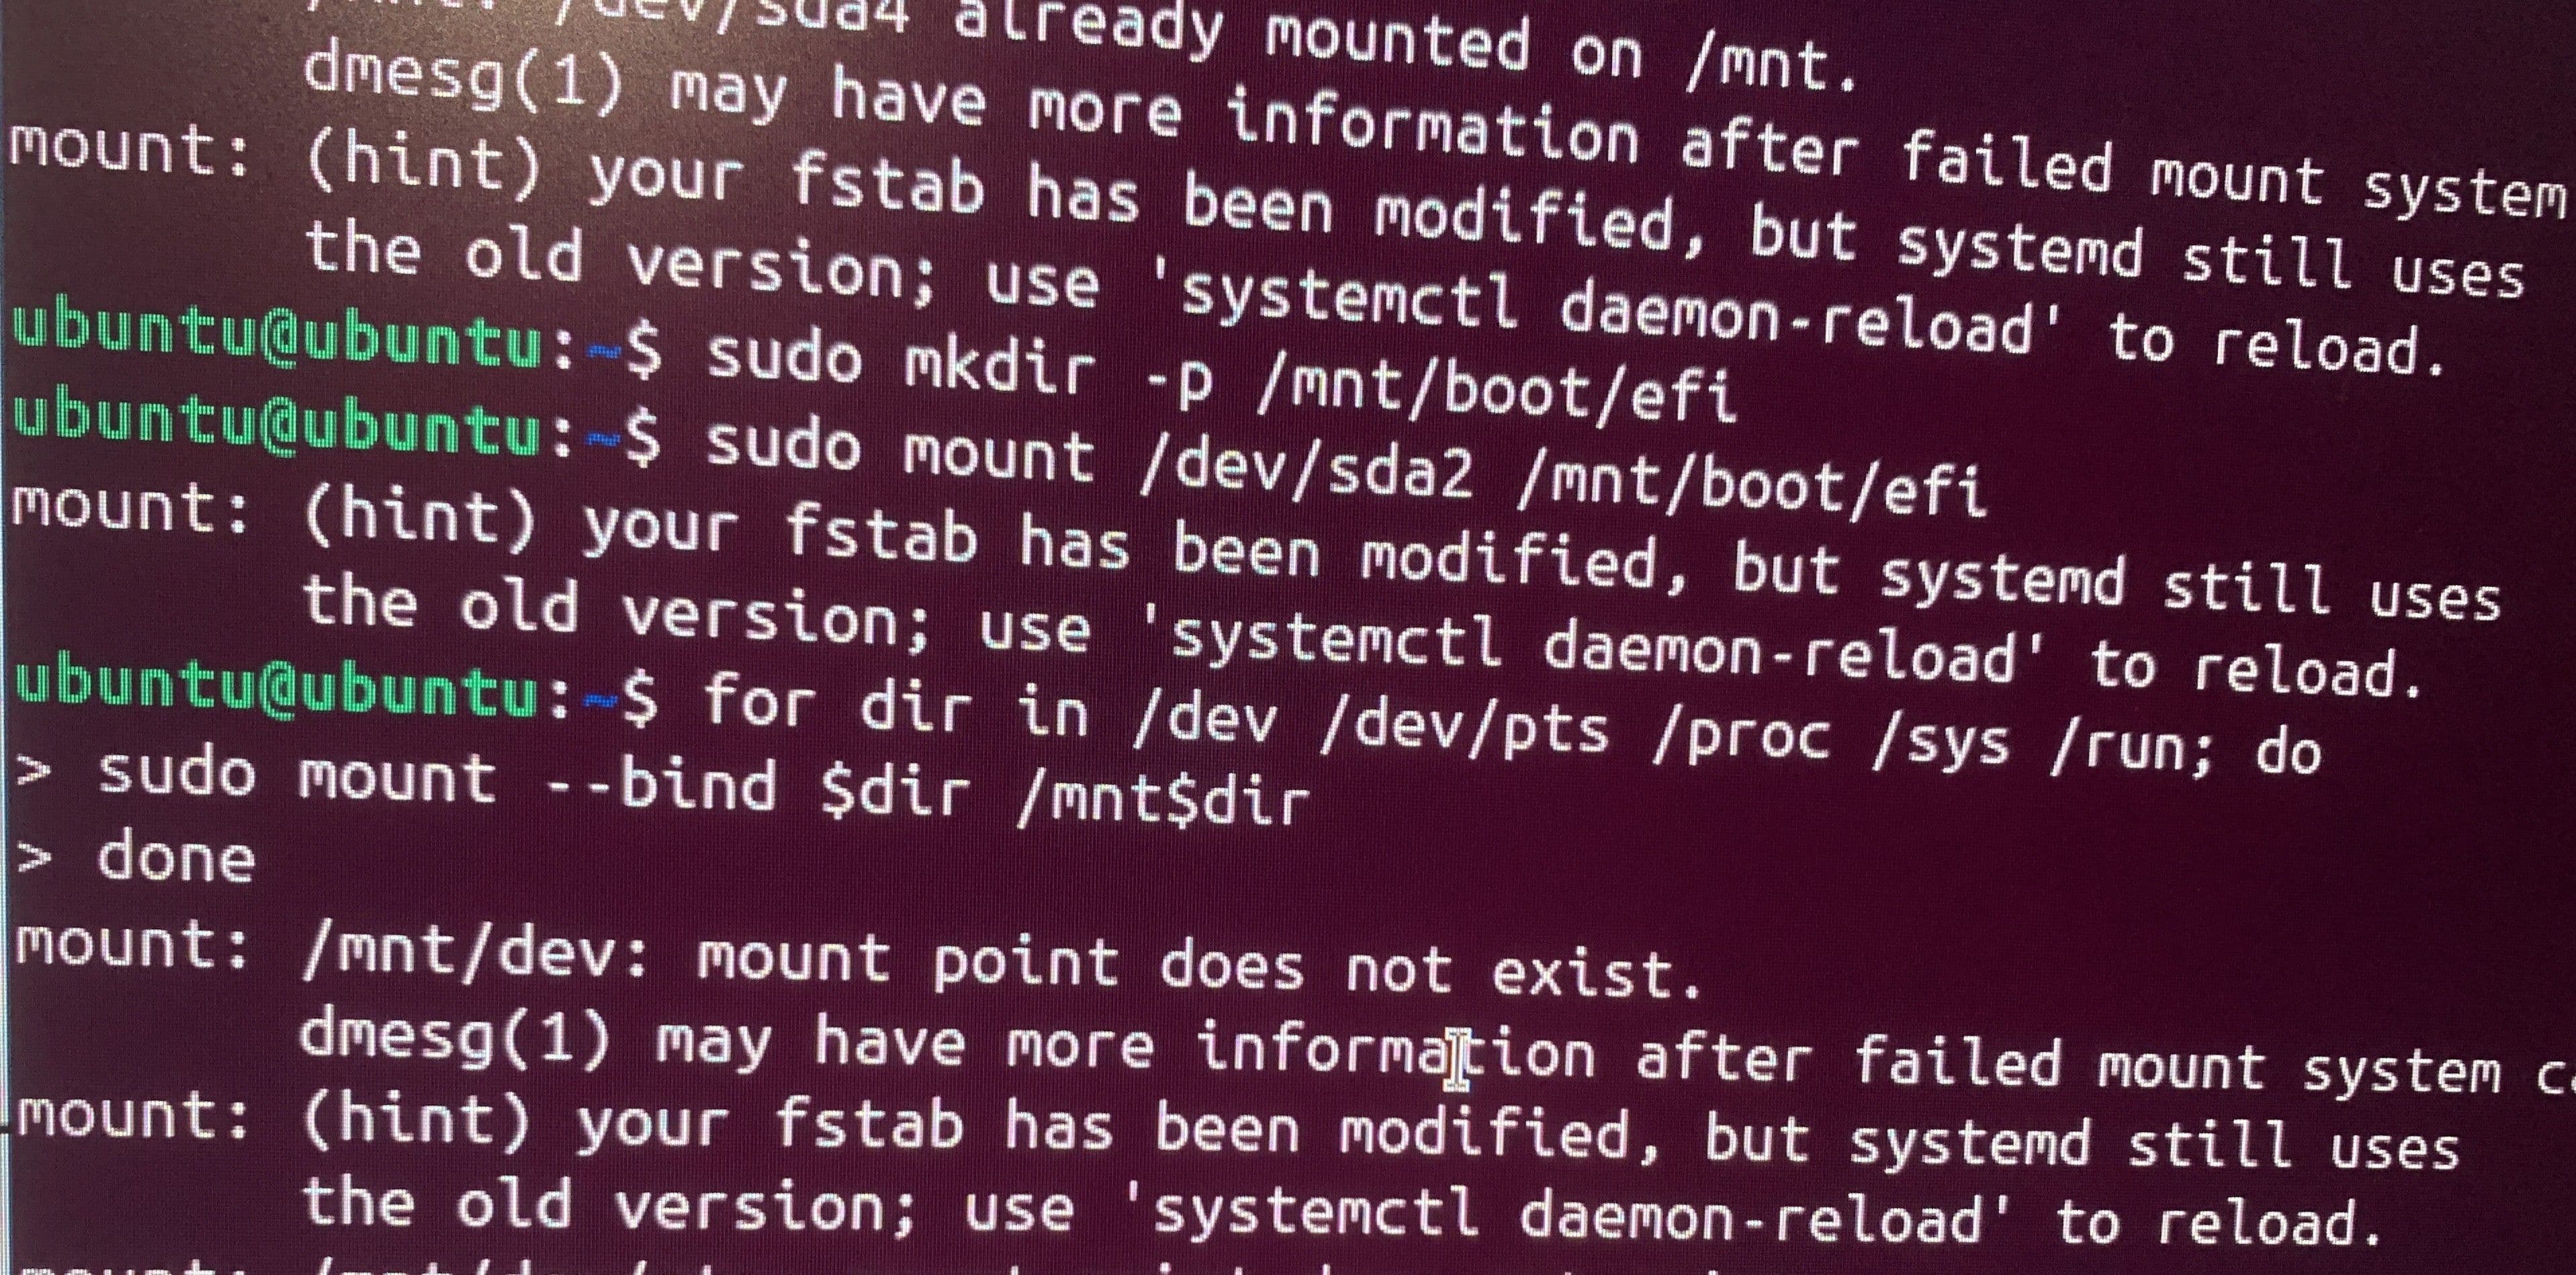
- Mounted the Partitions
sudo mount /dev/nvme0n1p1 /mnt
sudo mkdir -p /mnt/boot/efi
sudo mount /dev/nvme0n1p2 /mnt/boot/efi
- Entered a Chroot Environment
for dir in /dev /dev/pts /proc /sys /run; do
    sudo mount --bind $dir /mnt$dir
done
sudo chroot /mnt
Now I was essentially “inside” my installed Ubuntu system.
- Reinstalled GRUB
Inside the chroot, I reinstalled GRUB and regenerated its config:
apt-get update
apt-get install --reinstall grub-efi-amd64 grub-efi-amd64-signed shim-signed
grub-install --target=x86_64-efi --efi-directory=/boot/efi --bootloader-id=ubuntu
update-grub
exit
- Unmounted and Rebooted
sudo umount /mnt/boot/efi
sudo umount /mnt/dev/pts
sudo umount /mnt/dev
sudo umount /mnt/proc
sudo umount /mnt/sys
sudo umount /mnt/run
sudo umount /mnt
sudo reboot
Removed the USB, went into BIOS, and made sure ubuntu was above Windows Boot Manager in the boot order.
The Outcome
On reboot, the GRUB menu finally reappeared with both Ubuntu and Windows Boot Manager listed. I could switch between them just like before. Nothing was lost, nothing had to be reinstalled.
What I Learned
- Always keep a live USB around. It’s your lifeline when GRUB breaks.
- GPT has backups. A corrupt partition table isn’t the end. Tools like
gdiskcan save you. - Know your partitions. Don’t just guess,
lsblkandfdisk -ltell you exactly what’s what. - GRUB reinstall isn’t scary. Once you understand
mount,chroot, andgrub-install, you can repair it confidently.
My Setup (for reference)
| Drive | Partition | Purpose | FS | Size |
|---|---|---|---|---|
| nvme1n1 | p3 | Windows SSD | NTFS | 474 GB |
| nvme0n1p1 | root / | Ubuntu | ext4 | 476 GB |
| nvme0n1p2 | EFI System | Bootloader (GRUB) | FAT32 | 1 GB |
| nvme0n1p3 | Data | Shared Files | NTFS | 453 GB |
Final Thoughts
Dual-booting is powerful, but it comes with some fragility. If you ever land in a GRUB prompt again, don’t panic. With a live USB, a bit of patience, and the right commands, you can rescue your system without wiping anything.
This was one of those painful but rewarding experiences that taught me more about Linux internals than any tutorial could. Now I’ve documented it, both for my future self and for anyone else stuck at a GRUB screen at 2 a.m.